Publish surveys and collect feedback from anyone, anywhere
Increase your response rate by sharing your survey using email, web link, social post, SMS, or even offline. Access 335M+ global respondents and track responses in real time for fast, high-quality insights.
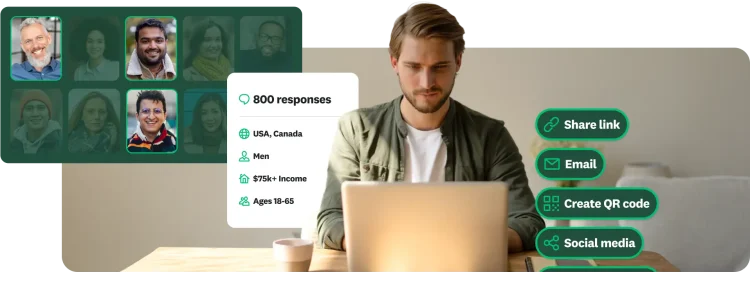
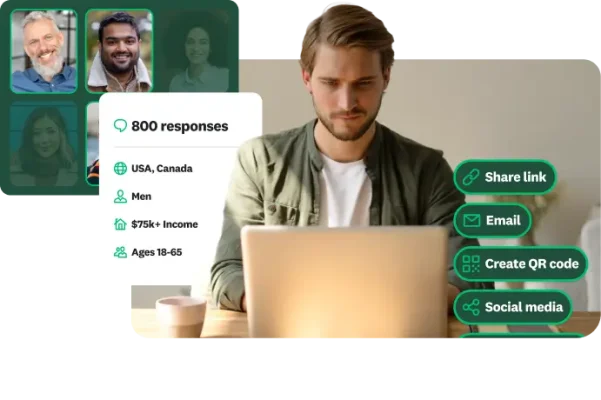
Simplify response collection
Manage how you collect responses across channels by tracking participation, automating follow-ups, and keeping everything organized in one place.
Deliver a personalized experience
Customize when and how people receive your surveys, and send reminders that increase response rates and keep respondents engaged.
Act on insights instantly
Get real-time notifications and insights as responses come in, so you can make faster, data-driven decisions without waiting for reports.
Ways to publish your survey

Share a survey link
Share your survey link on the web, LinkedIn, X, Facebook, or WhatsApp to reach anyone, anywhere. Capture quick insights and boost response rates by reaching people where they are.
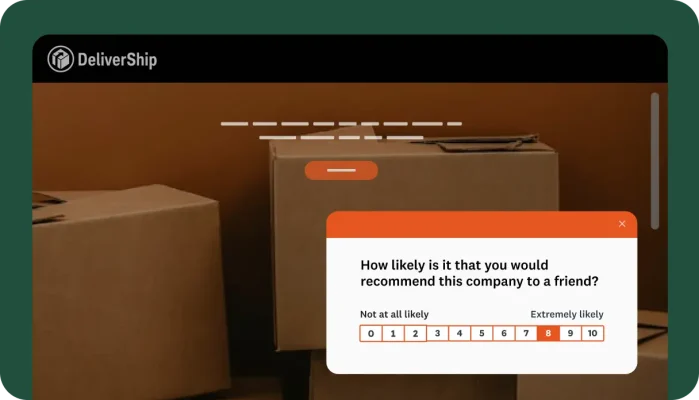
Embed on a website
Publish surveys directly on your site and set up triggers based on visitor behavior to measure satisfaction and gather feedback when it matters most.
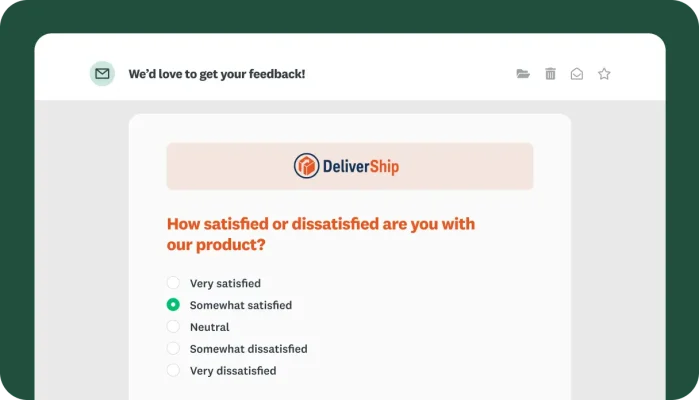
Send an email
Use our email collector to reach your audience list with branded survey invitations that drive engagement. Track performance in real time and send follow-up emails to boost completion rate.

Buy targeted responses
Quickly tap into feedback from a global audience of more than 335M+ people in over 130 countries, to collect high-quality, reliable data for market research and product validation.

Use kiosk mode
Capture in-person insights in the field, online or offline, for instant data access and high-quality results. Use QR codes for wider reach at trade shows, retail locations, and more.
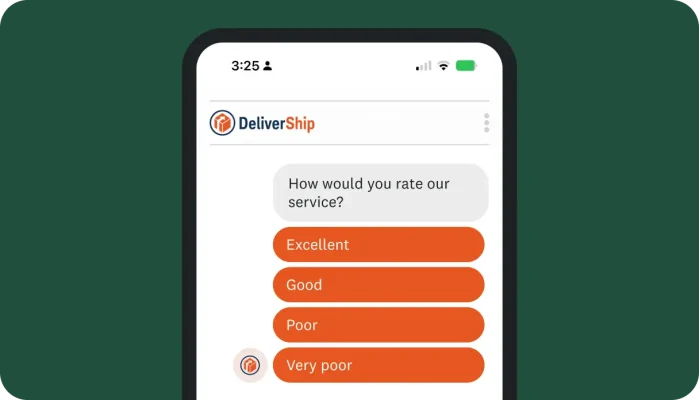
Send surveys via SMS or embed in-app
Capture instant feedback from users by sending surveys via SMS or use our mobile SDK to embed them in your app to reach customers where they are most engaged.
Publishing options to fit any survey strategy
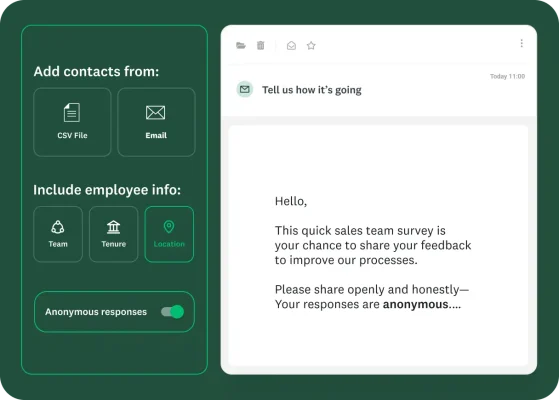
Use email collectors to connect with your workforce effortlessly
Simplify how you share your survey with powerful email invites. Upload employee contact lists with demographic details like tenure or location, while still anonymizing identifiable information like name or email within your results. Easily automate reminders to boost response rates.
Ready to publish surveys faster?
Get modern, easy-to-use collectors that do the heavy lifting, so you can focus on what the feedback
tells you. Collect responses faster, more confidently, and all in one place.
Learn more about gathering and analyzing
feedback with SurveyMonkey

Best channels for sending surveys
Discover the best methods to send surveys, including email and social media, to ensure high response rates and valuable feedback.

Let the feedback flow
Understand your ideal audience better. Start turning questions into insights in about an hour.

Analyze survey data
Turn responses into insights with real-time dashboards, filters, and reports for instant data access and high-quality analysis.
Discover more resources

Solutions for your role
SurveyMonkey can help you do your job better. Discover how to make a bigger impact with winning strategies, products, experiences, and more.

Travel survey questions: 40+ examples to improve guest and traveler feedback
Use these 40+ travel survey questions and templates to collect feedback, boost guest satisfaction, and improve every traveller’s experience.

When you need to ask follow-up questions
Follow-up questions are a great tool to gather more insightful, specific data from surveys. Here's how and when you need to ask follow up questions.

The pros and cons of survey prizes
Explore the pros and cons of offering survey prizes, assess whether you need them, and learn best practices for using survey incentives effectively.

